Create App Registration
This guide will walk you through creating an Application ID and Client Secret for the Exchange Connection. The Exchange Connection uses an application identity in Microsoft Entra ID to create Shared Mailboxes and configure mailbox permissions in Microsoft 365 Exchange Online.
Overview of the required steps:
- Create an App Registration in Microsoft Entra ID.
- Grant Exchange API permissions to the app.
- Grant the Exchange Administrator role to the app.
- Generate a Client Secret for the app.
Create the App Registration
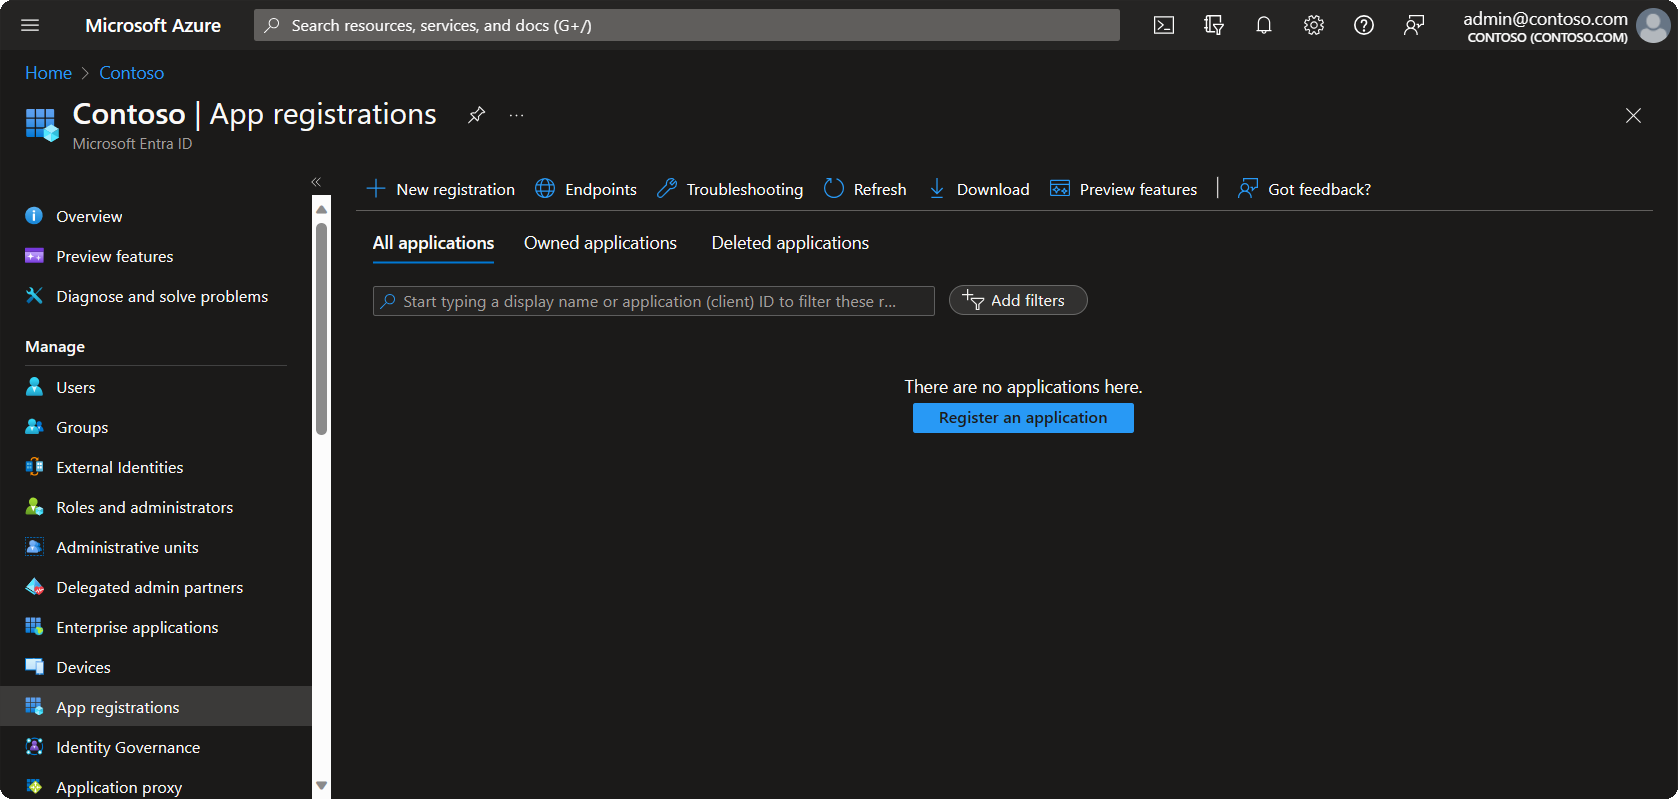
Go to App Registrations in Microsoft Entra ID.
Direct link: https://portal.azure.com/#view/Microsoft_AAD_IAM/ActiveDirectoryMenuBlade/~/RegisteredAppsClick New registration.
- Enter a descriptive name for the app registration, choose Accounts in this organizational directory only and click Register.
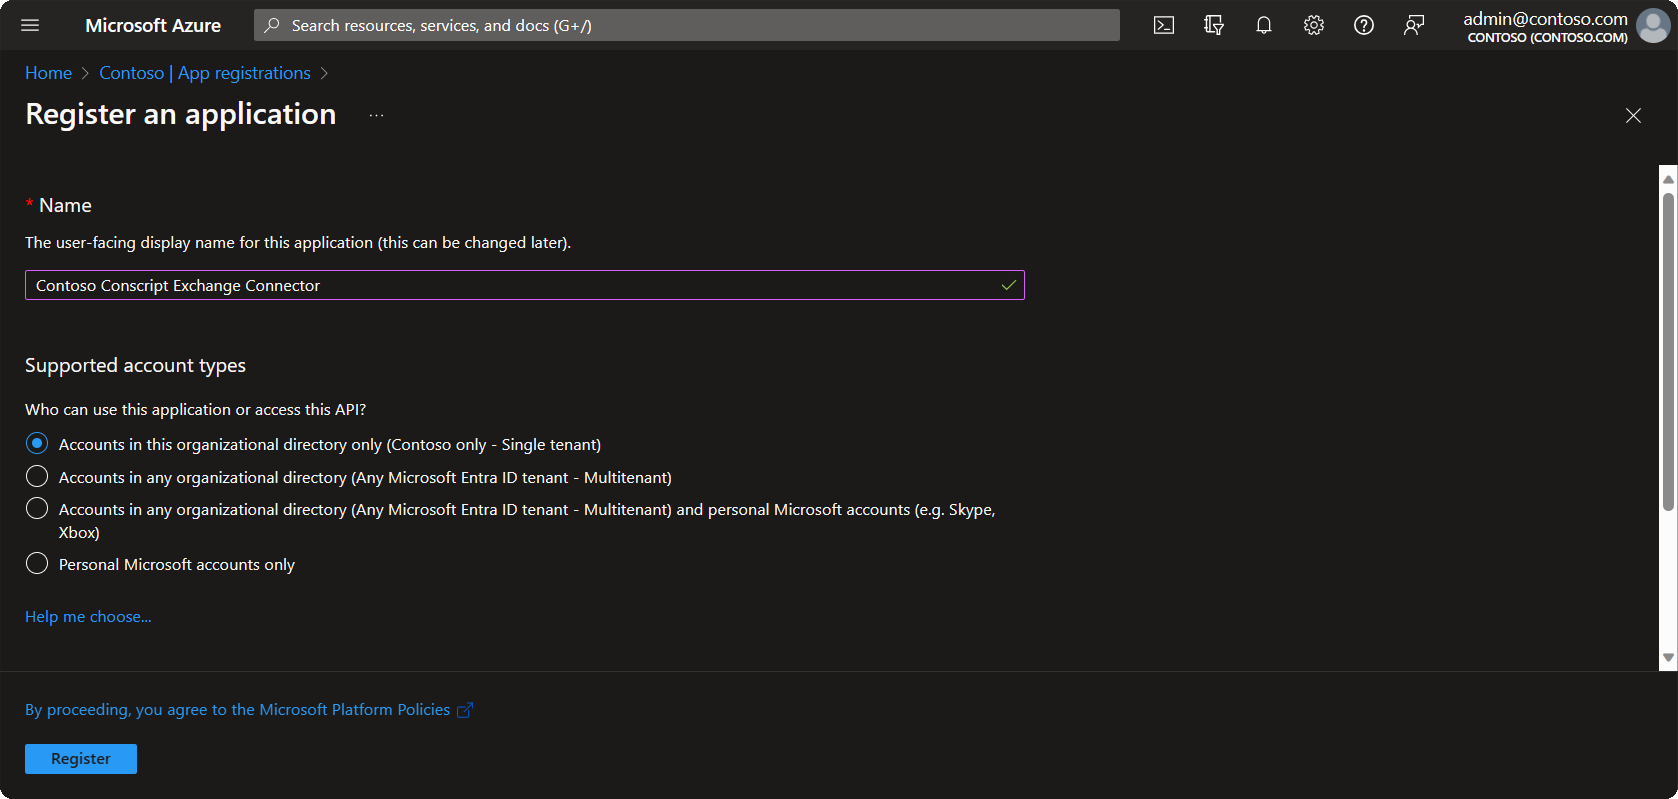
- Note the Application ID of the newly created App Registration and save it for later. This will be required to configure the connector.

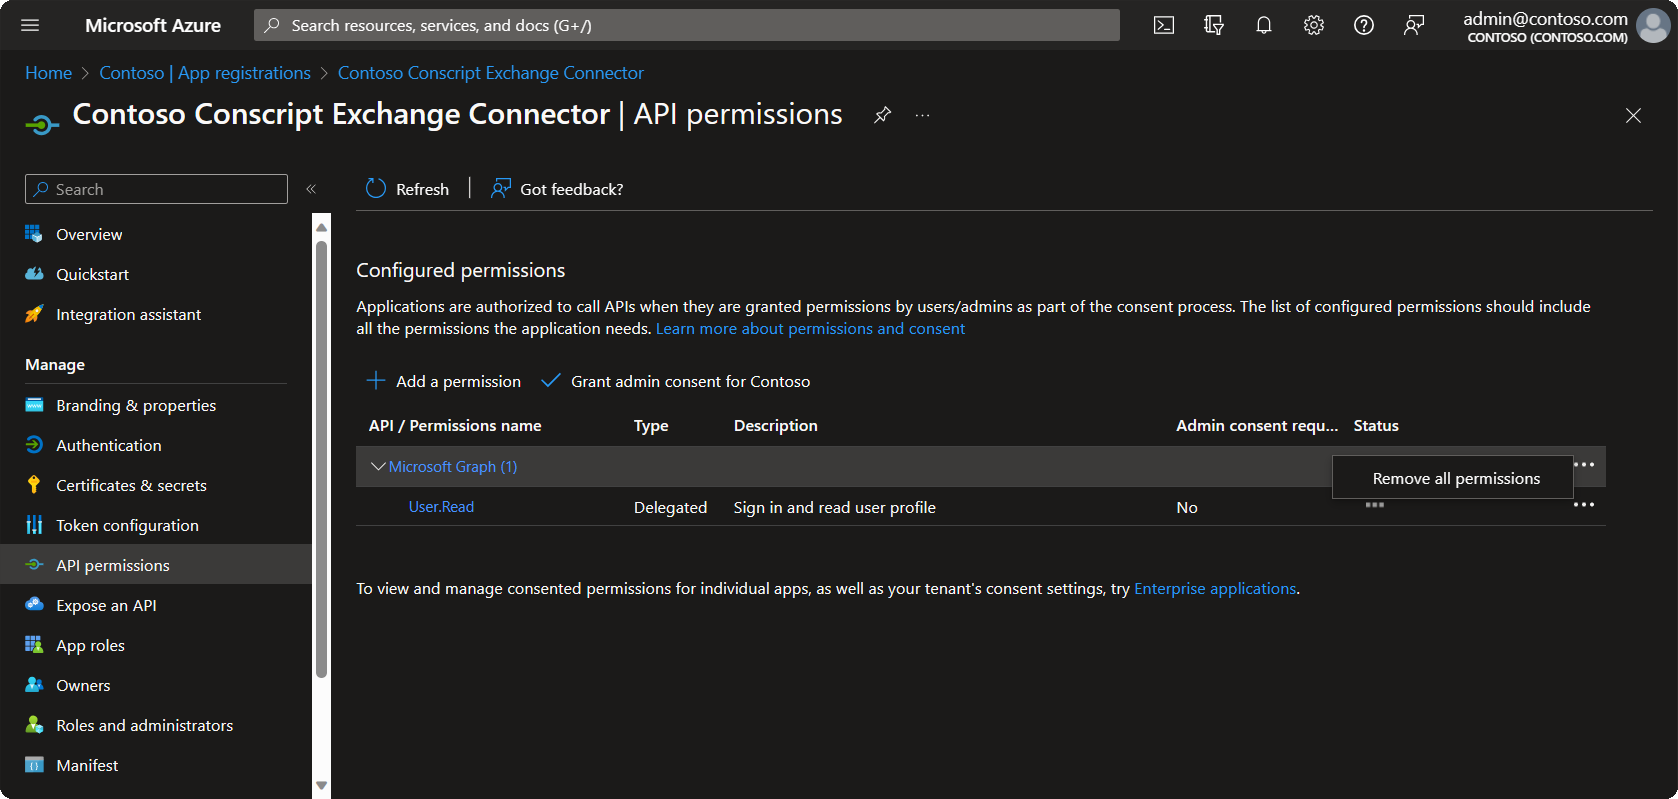
Grant API Permissions
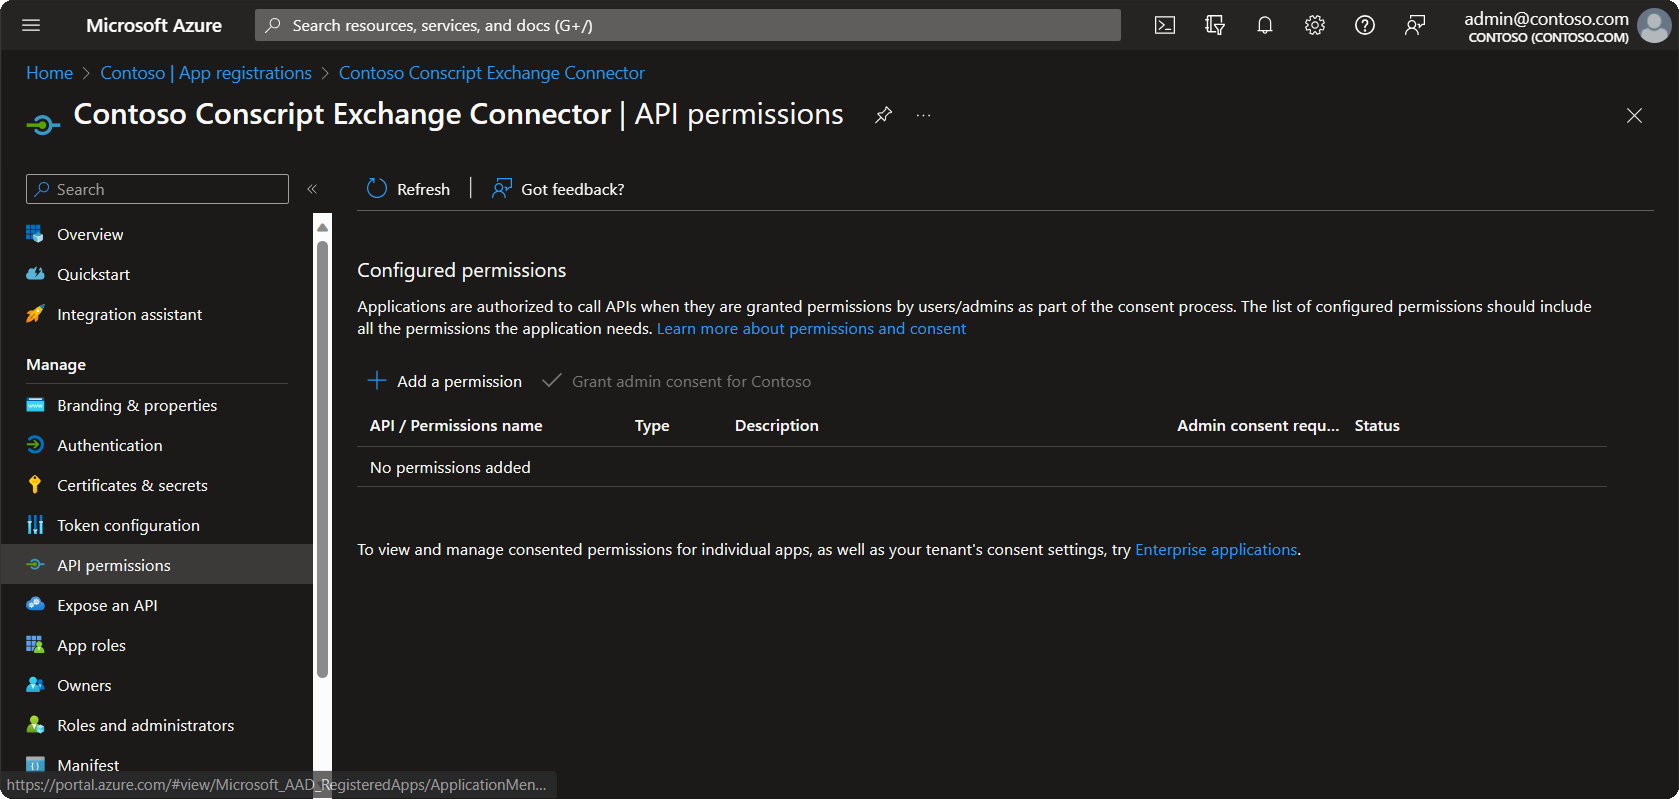
- Navigate to API Permissions within the newly created App Registration. The existing default permissions can be removed by clicking the ellipsis on the right and then Remove all permissions.
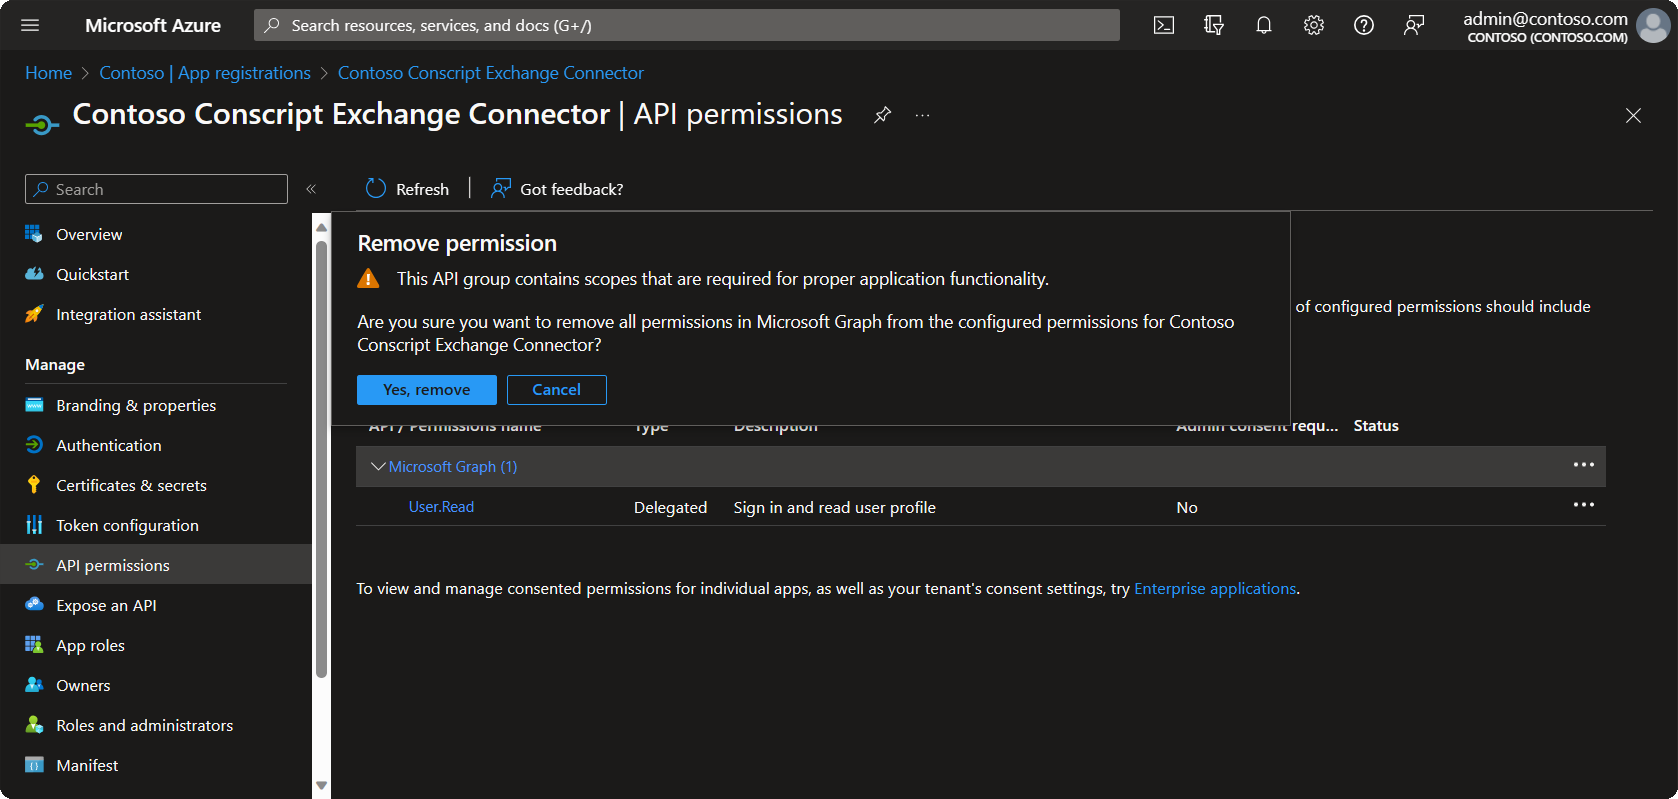
- Click Yes, remove to confirm.
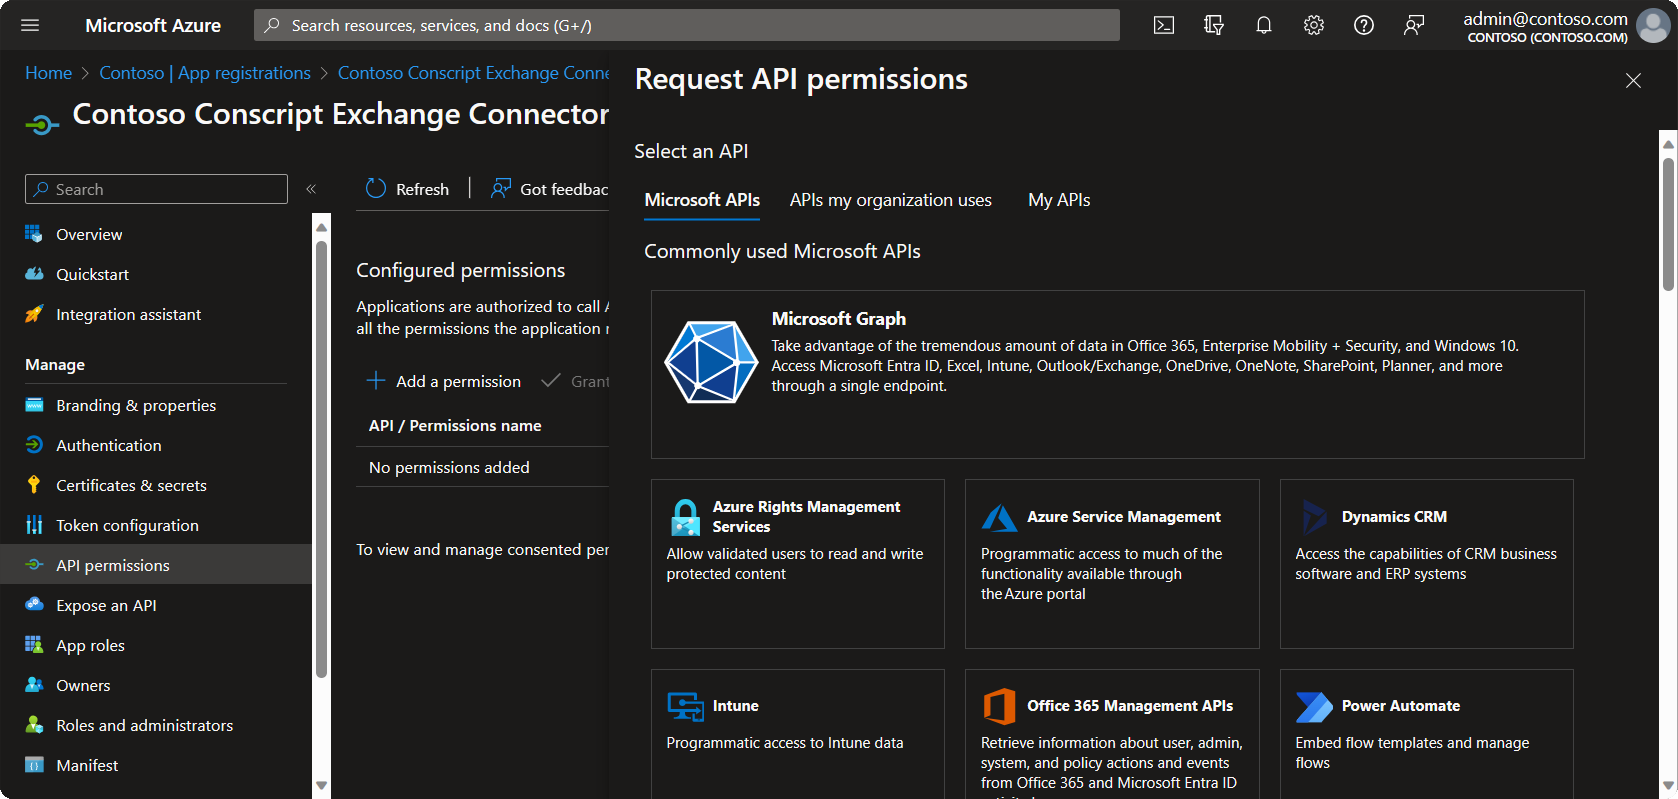
- You should now see no permissions listed. Click Add a permission.
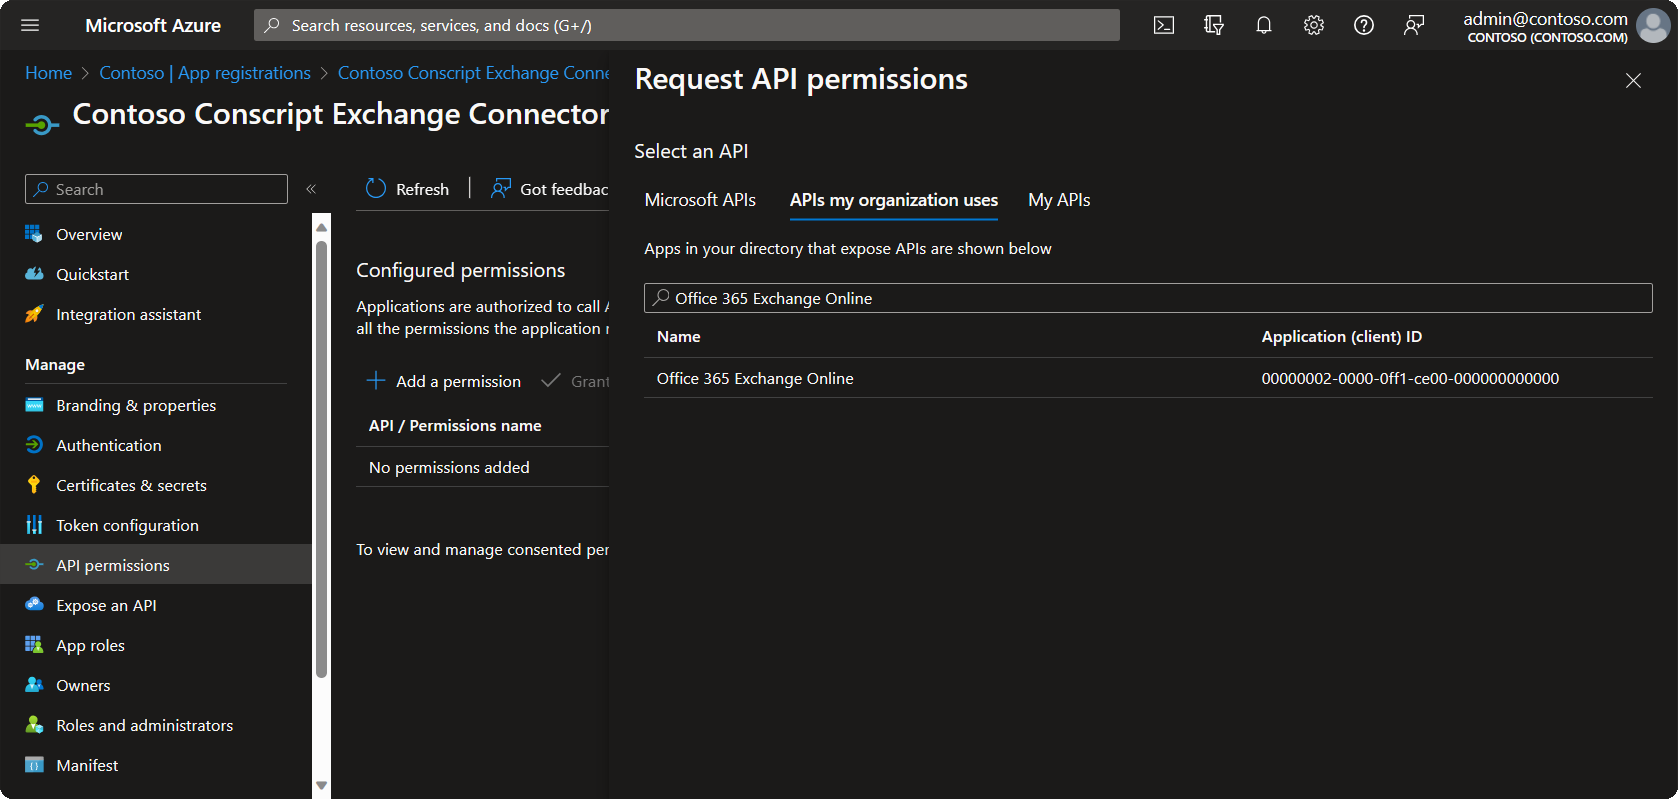
- Click APIs my organization uses.
- Search for and select
Office 365 Exchange Online.
- Select Application permissions.
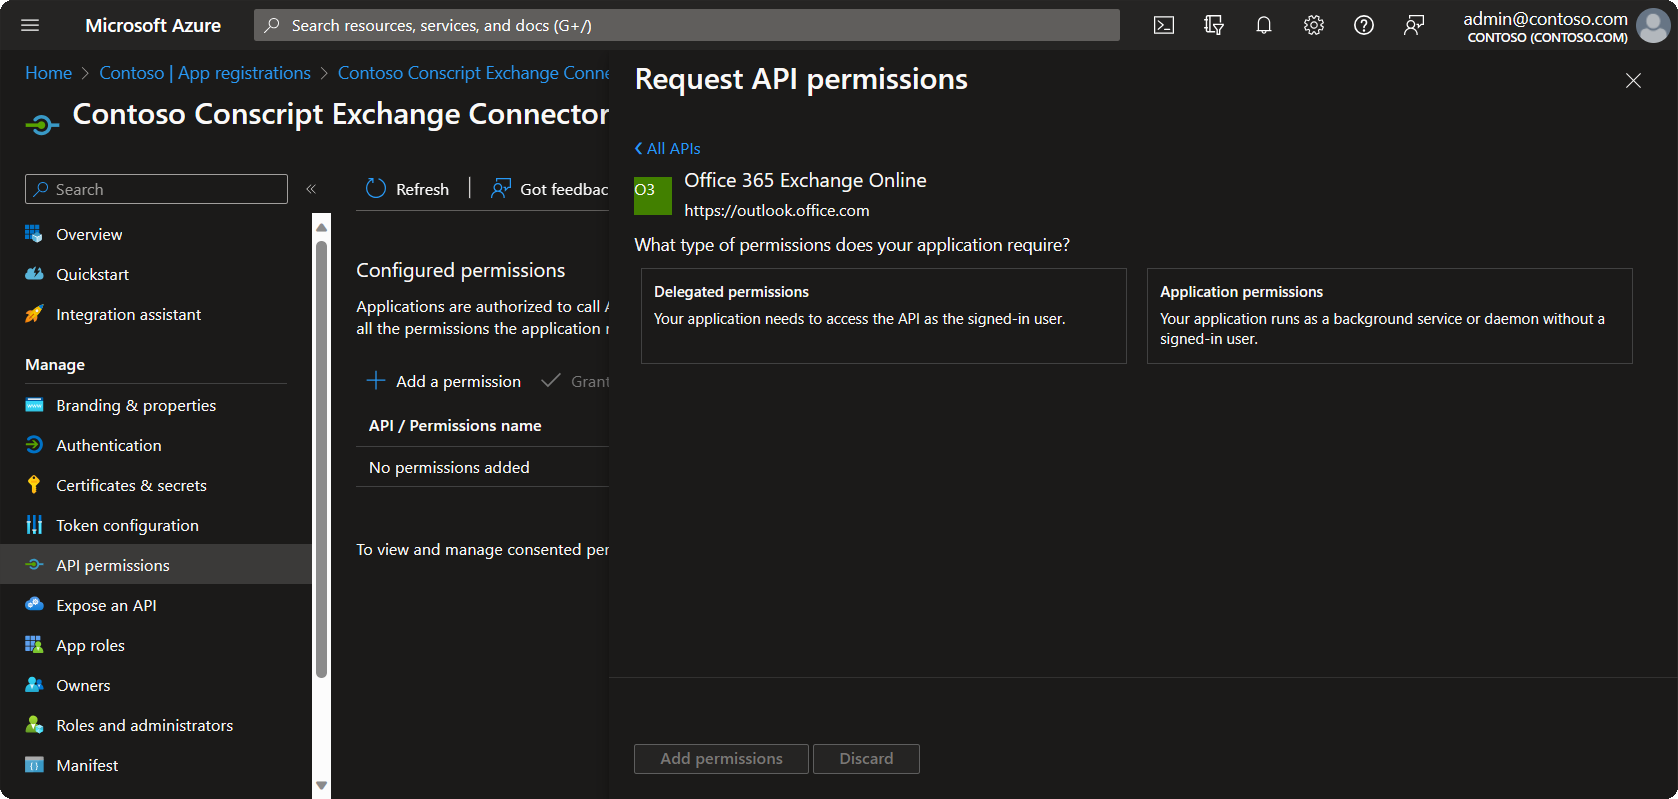
- Expand Exchange and select Exchange.ManageAsApp.
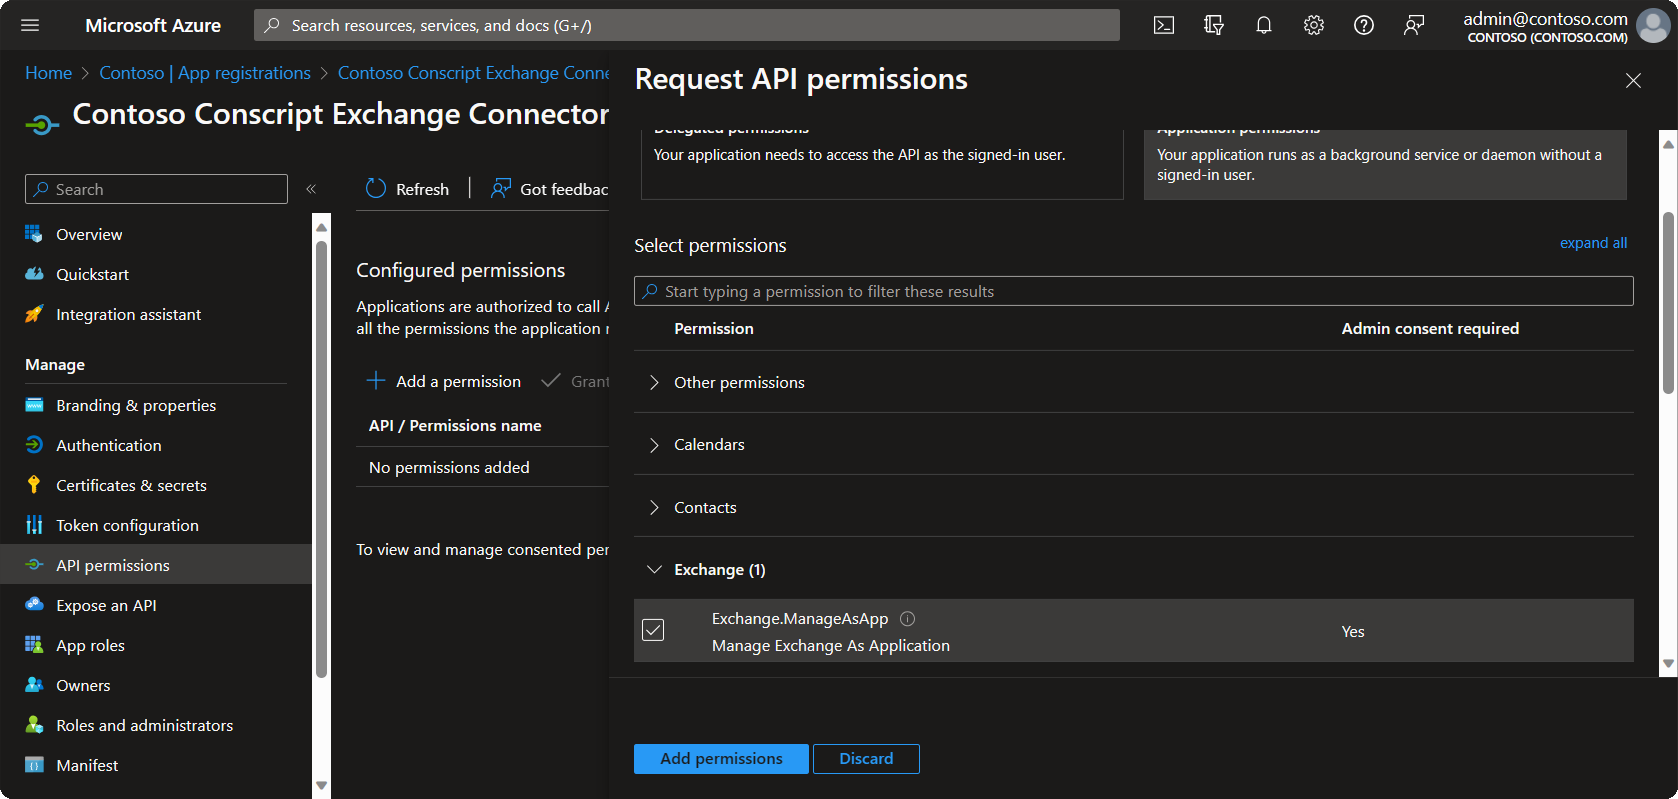
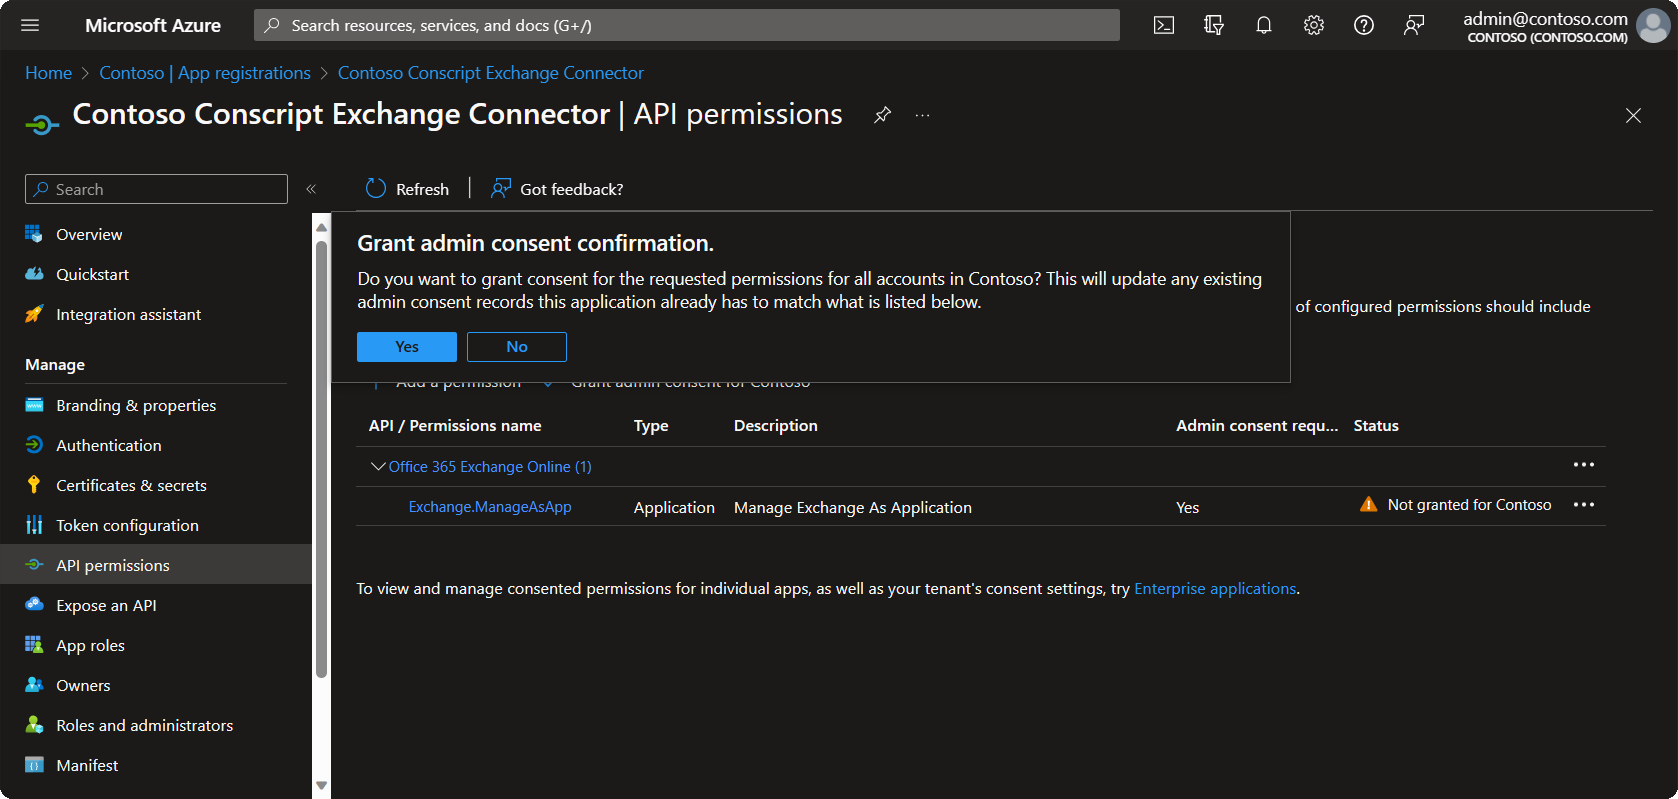
- You should now see the new permissions listed with a message saying it has not yet been granted. Click Grant admin consent for...

- Click Yes to confirm.
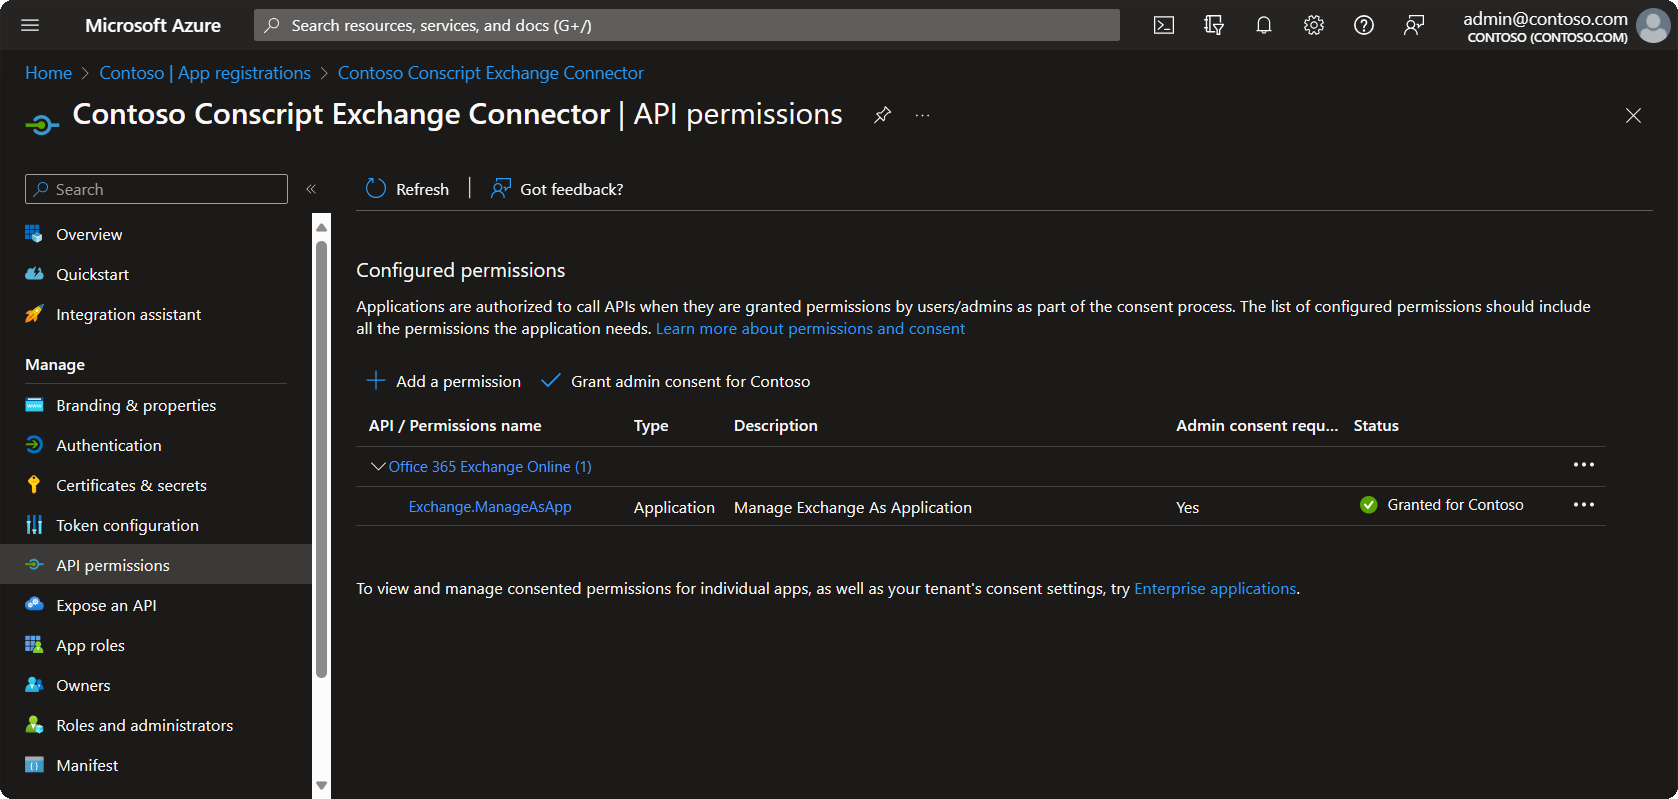
- You should now see the Exchange.ManageAsApp permission listed with a green check.
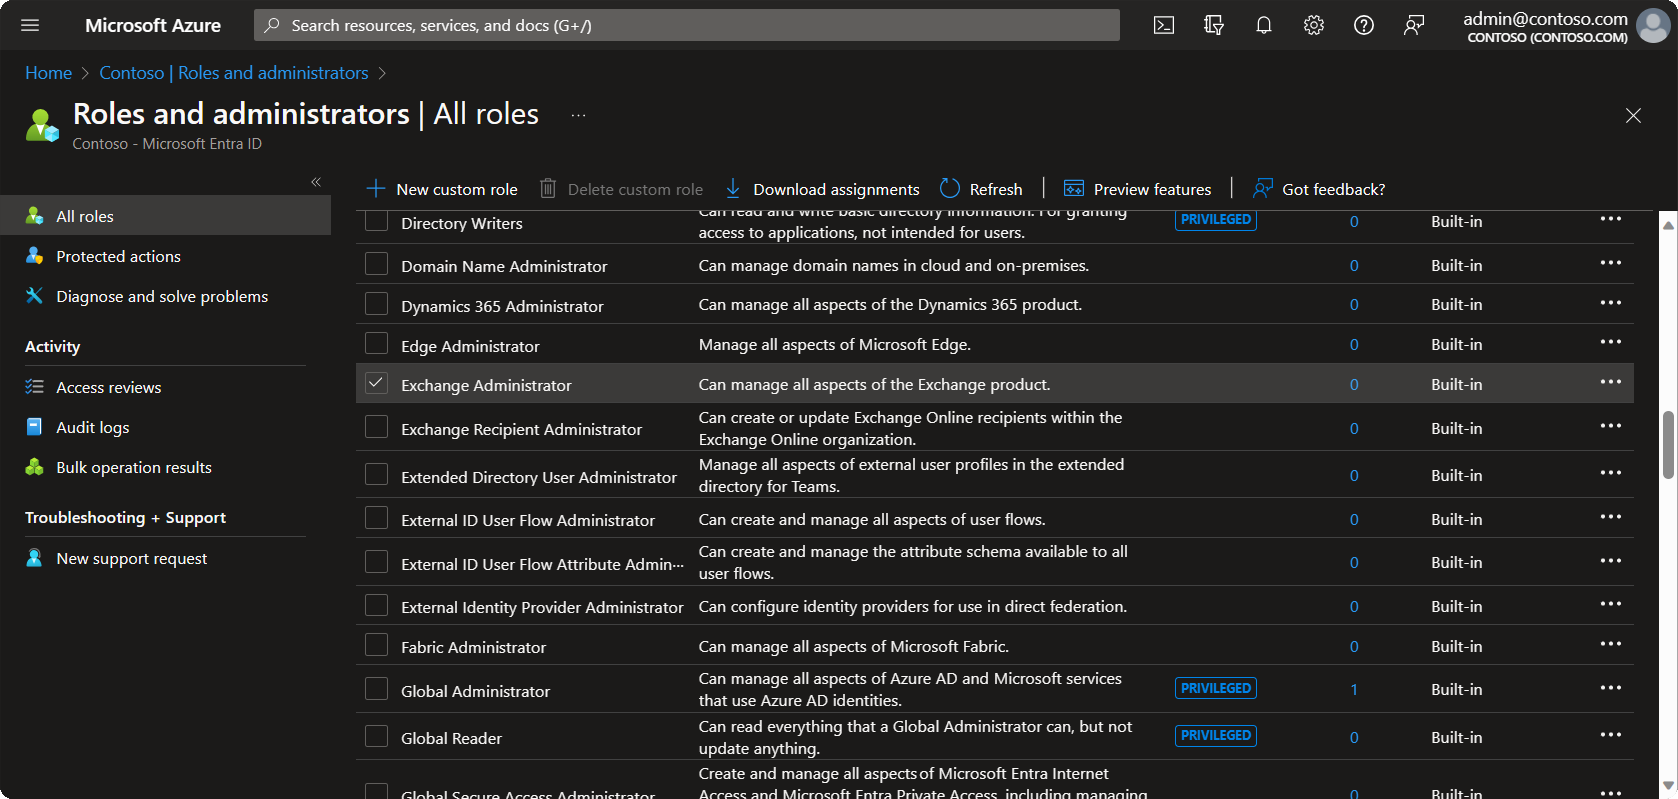
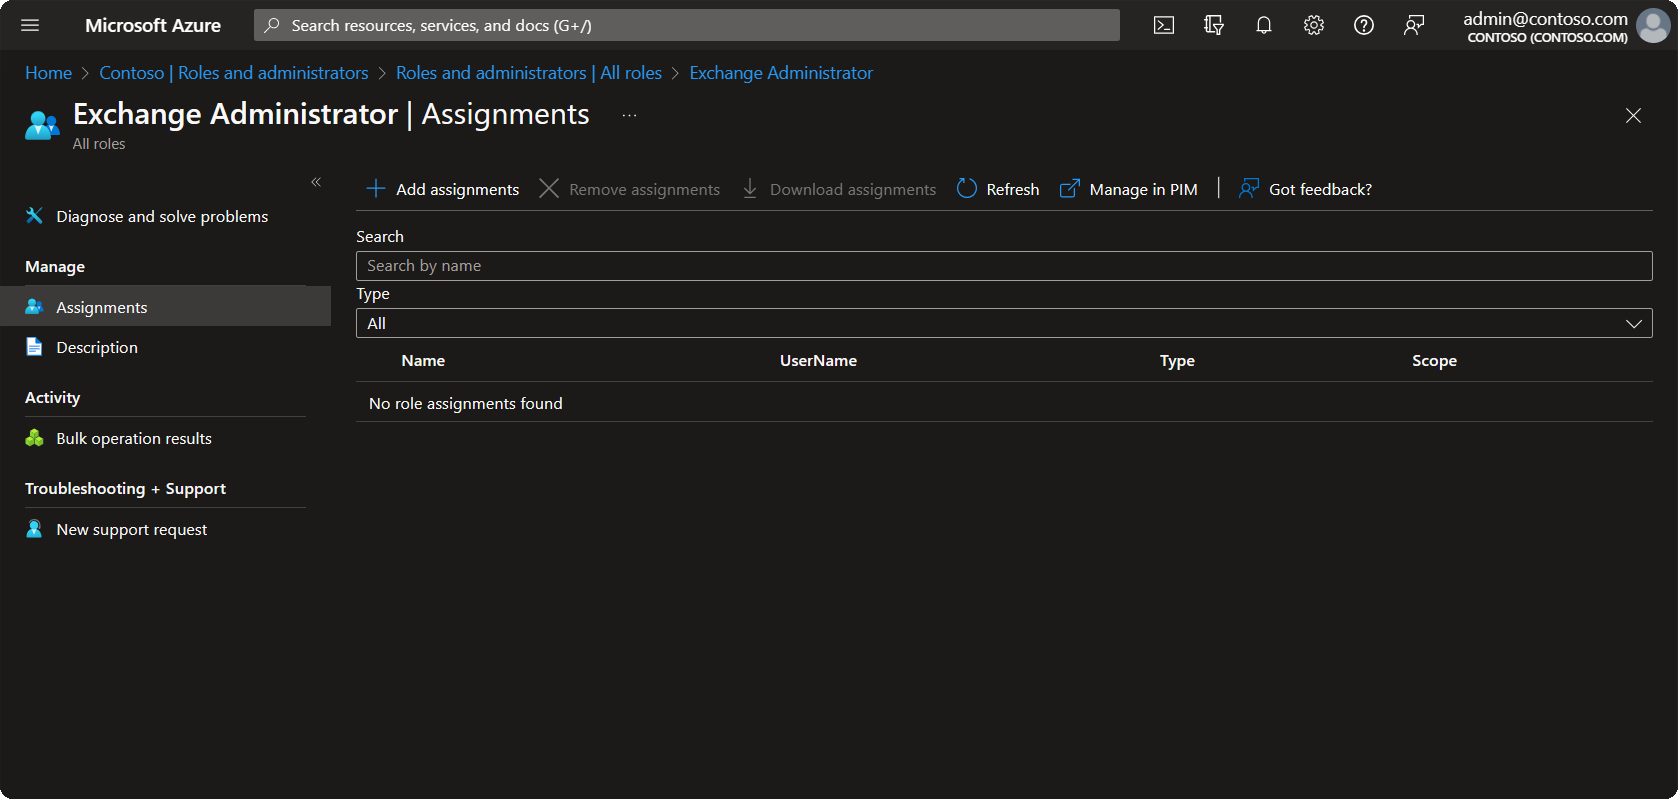
Grant Exchange Administrator Role
- Navigate to Roles and administrators in Microsoft Entra ID and double-click the Exchange Administrator role to open it.
Direct link: https://portal.azure.com/#view/Microsoft_AAD_IAM/RolesManagementMenuBlade/~/AllRoles
- Click Add assignments.
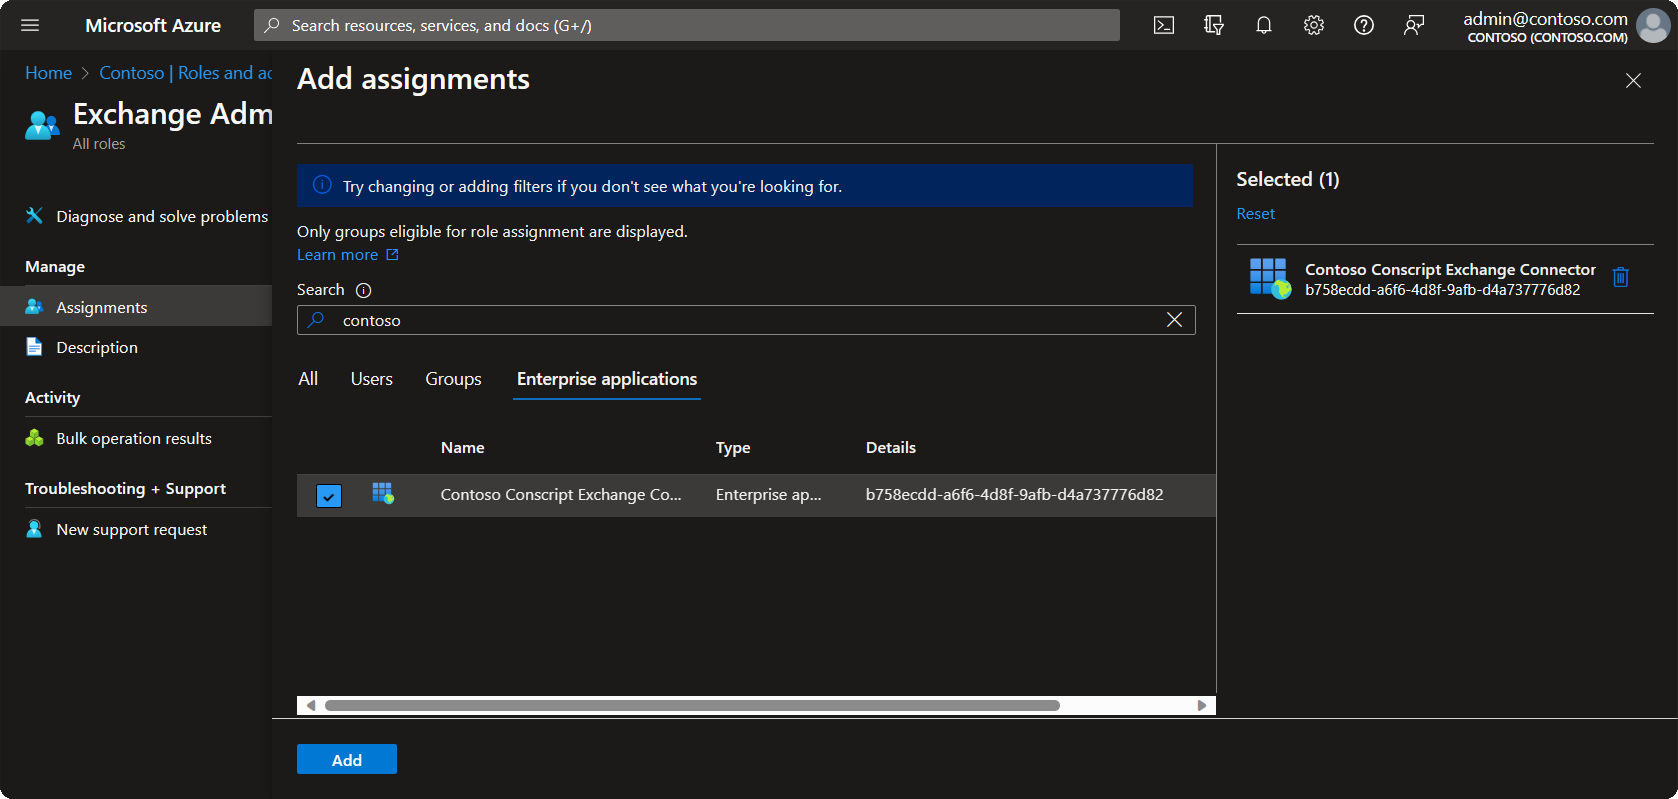
- Search for and select the App Registration created earlier, then click Add
Tip
The Enterprise applications tab only appears after you begin searching.
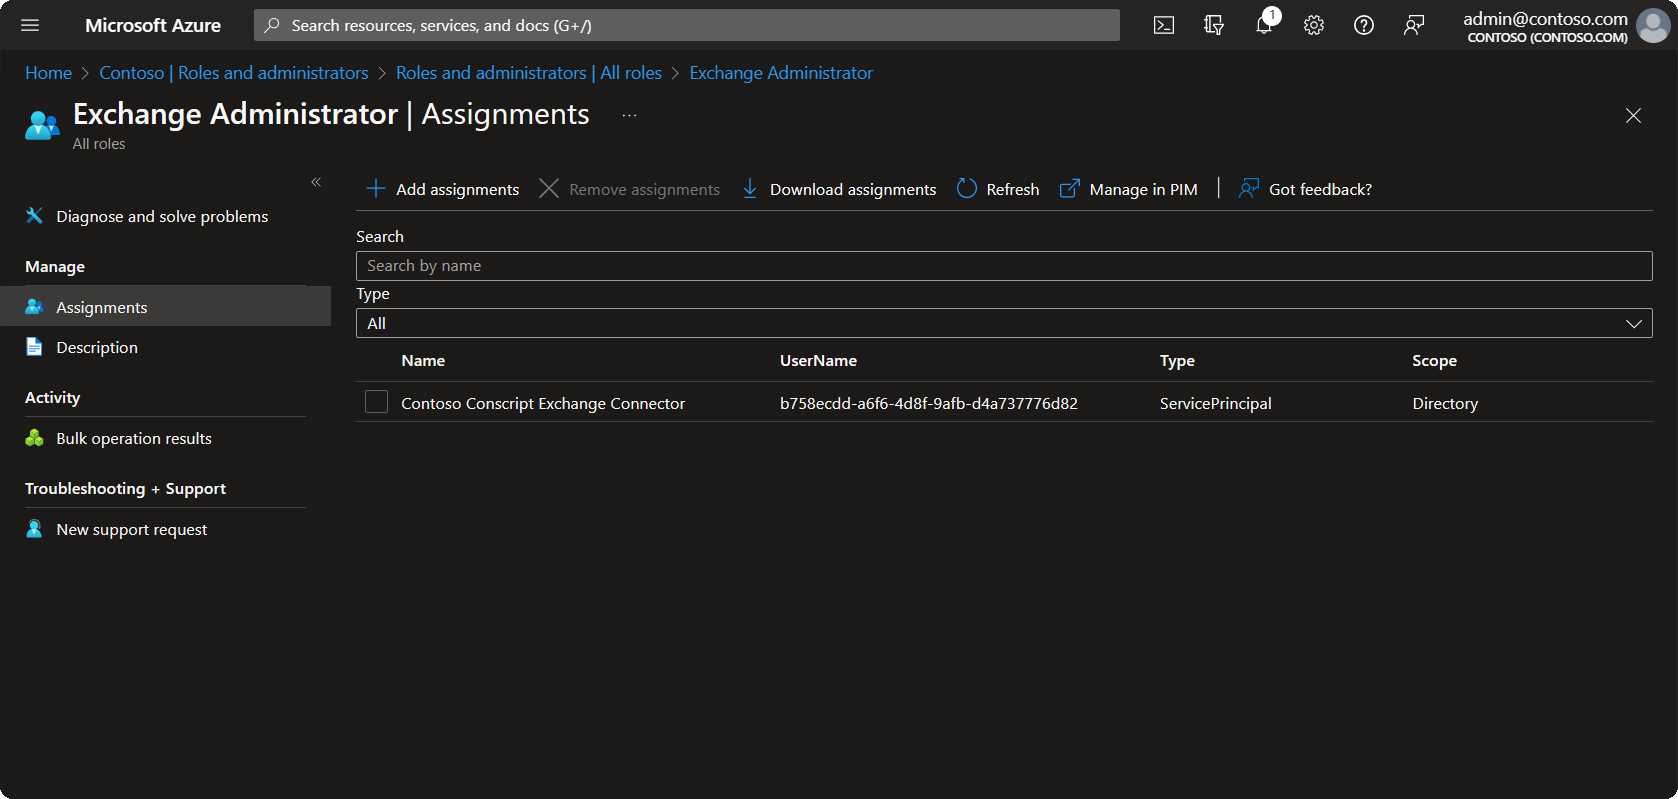
- You should now see the new assignment listed.
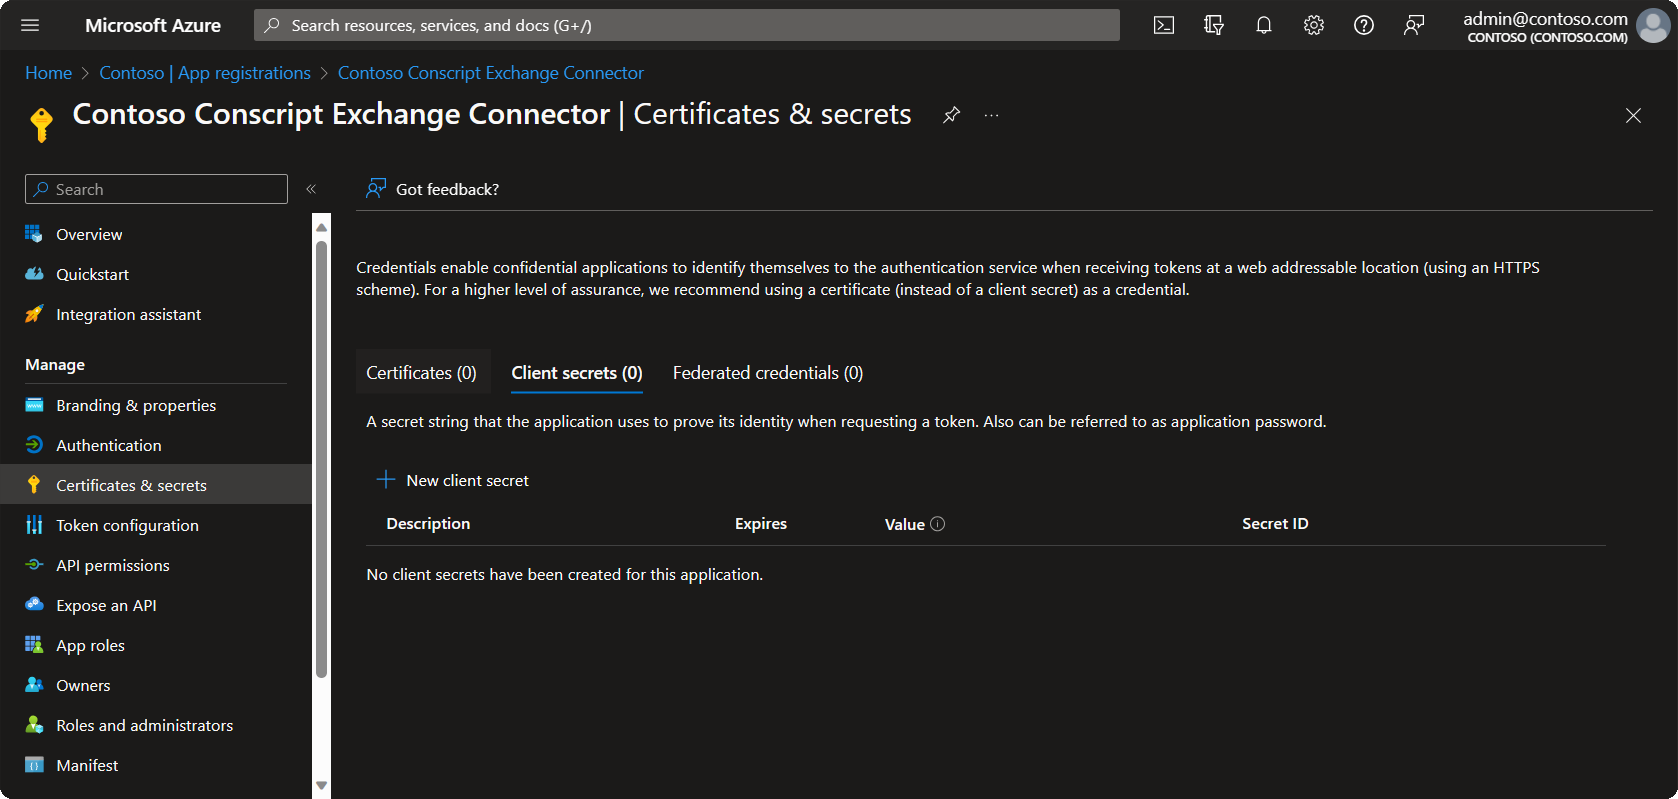
Generate a Client Secret
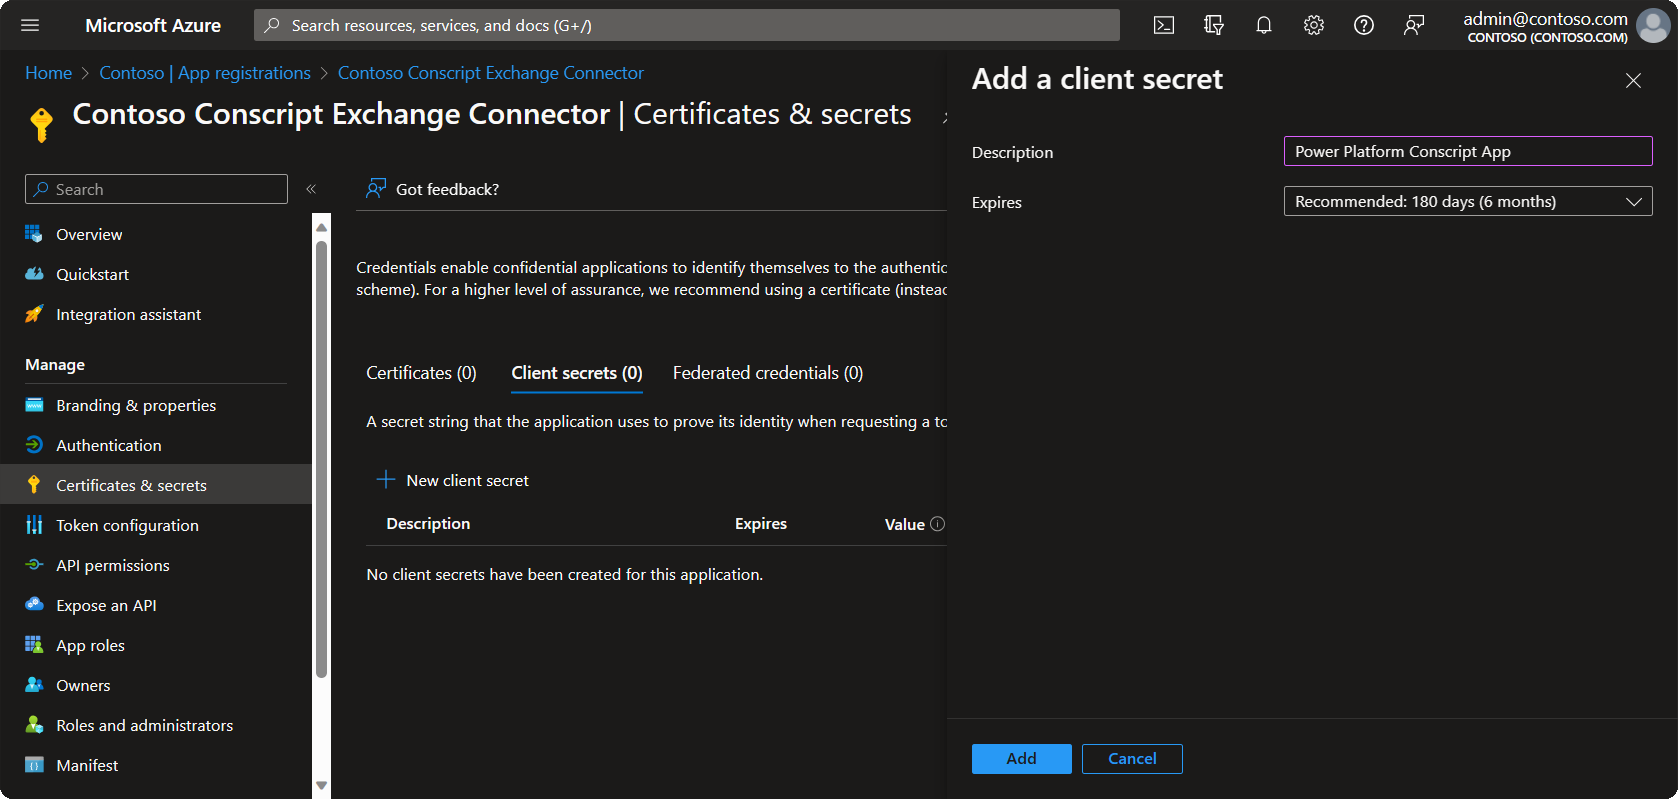
- Navigate to Certificates & secrets within the newly created App Registration and click New client secret.
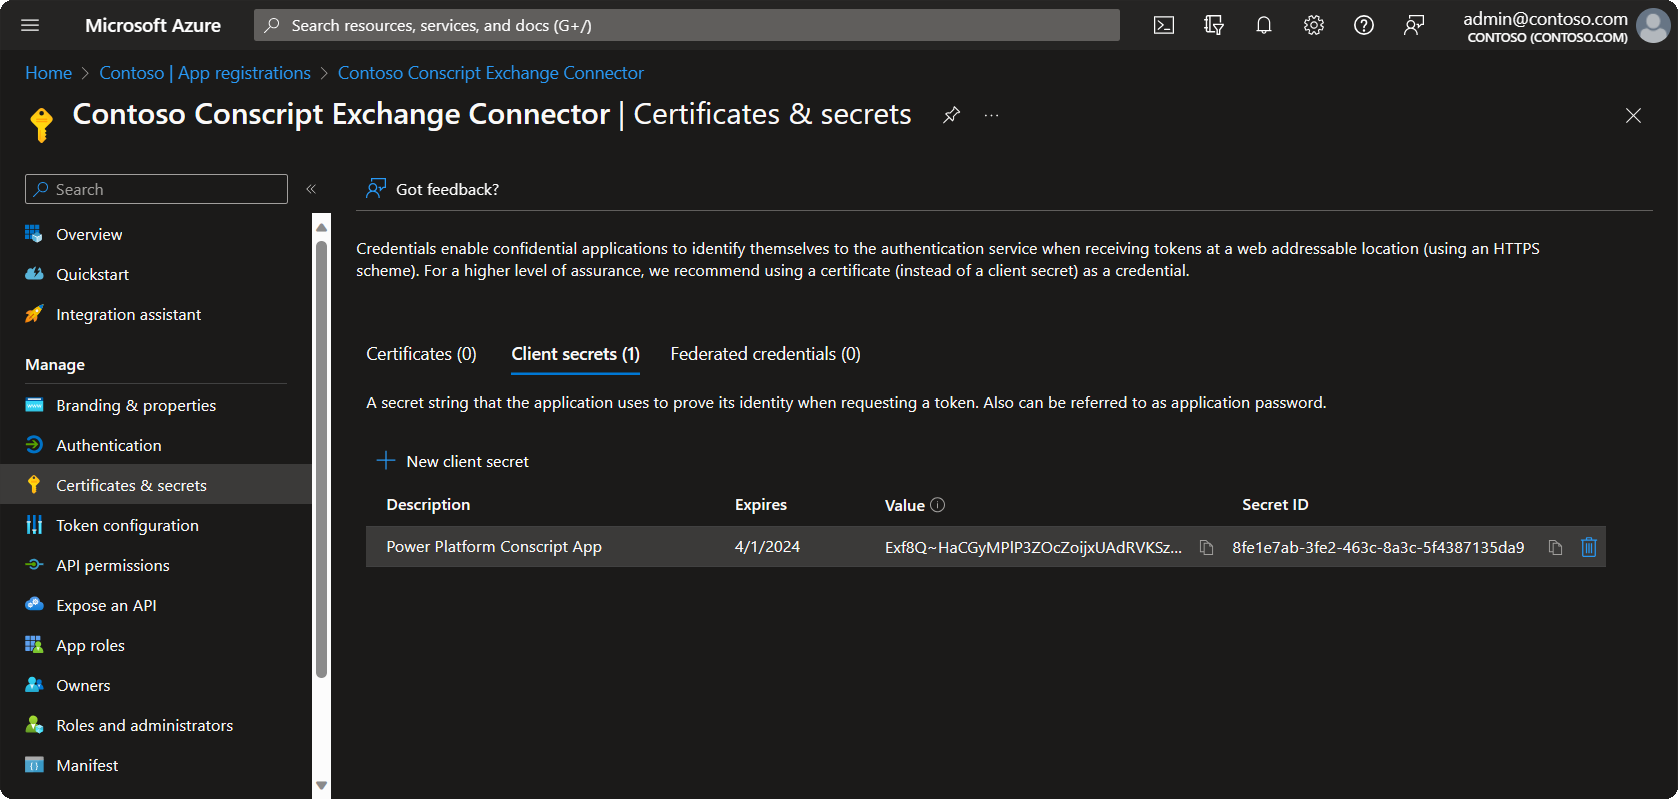
- Enter a description, choose a validity period, and click Add.
- Record the client secret Value for use in the connector configuration.
Security Warning
Treat this Client Secret as a highly sensitive password. Be sure to store and transmit it securely.
- The Application ID and Client Secret for the App Registration can now be entered on the Conscript Exchange connector configuration page.
